Form Builder
Form Builder is a client-side library for creating web forms. The library allows you to map a form from JSON to a dynamic HTML form and send the results to your server. The library has no built-in visual components to display the form. Instead, it is made to display your components. However, if you don't have your component set, there is a ready-made component set based on React Suite to work with.
Key features
- UI-Agnostic Components: Works seamlessly with any UI library (MUI, Ant Design, shadcn/ui and others).
- Pre-Built React Suite Integration: Includes a ready-to-use component library – @react-form-builder/components-rsuite.
- Framework Support:
- Next.js Integration: Seamlessly works with Next.js.
- Remix Compatibility: Fully supports Remix.
- Framework-Agnostic: Can also be used without any framework via CDN.
- Multi-Database Support: Compatible with MySQL, PostgreSQL, MongoDB, SQLite, and more.
- Built-in Validation with Zod: Includes pre-configured validation rules powered by Zod.
- Extensible Validation Support: Works with Yup, AJV, Zod, Superstruct, Joi, and other custom validation libraries.
- Localization - Powerful capabilities for localizing forms using Fluent.js.
- Responsive Layouts: Build forms that automatically adapt to all screen sizes.
- Custom Actions: Enhance forms with interactive logic through custom JavaScript code.
- Dynamic Properties: Implement real-time component changes with MobX-powered reactive properties.
- Flexible Storage Options:
- Store complete form definitions as JSON.
- Programmatically generate forms via code.
Quick start
Let's create a sample form application from scratch. We will need to do the following:
- Create the application itself.
- Install the library.
- Add the form to the page.
- Run the application.
- Submit the form.
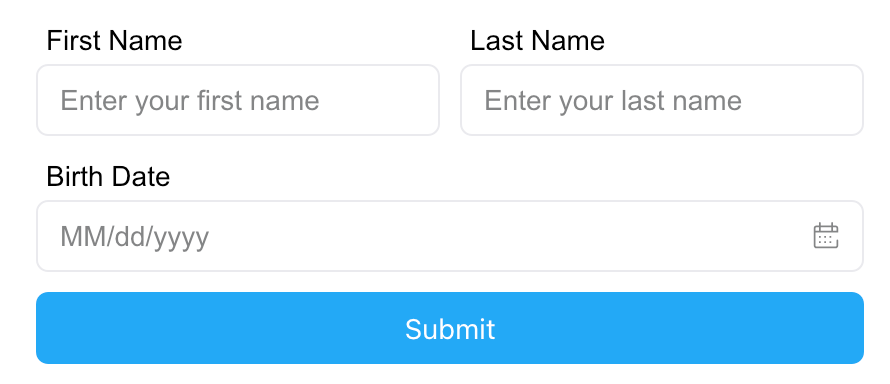
In the end, we will get a simple web form:

Let's create an application and install dependencies.
npx create-vite formbuilder-app --template react-ts
cd formbuilder-app
npm install @react-form-builder/core @react-form-builder/components-rsuite
So now we have a Vite application. Let's add a form to the application.
Form description
Each form is just JSON with a description of the form. The library takes care of form rendering and event handling.
Each form element is a component described by a unique key and type, and a set of properties. They can also describe how the component should be validated and what CSS styles should be applied. You can create form's JSON using the builder:
const simpleForm = buildForm({errorType: 'RsErrorMessage'})
  .component('container', 'RsContainer')
  .style({flexDirection: 'row'})
  .children((builder) =>
    builder
      .component('firstName', 'RsInput')
      .prop('placeholder', 'Enter your first name')
      .prop('label', 'First Name')
      .validation('required')

      .component('lastName', 'RsInput')
      .prop('placeholder', 'Enter your last name')
      .prop('label', 'Last Name')
      .validation('required')
  )

  .component('birthDate', 'RsDatePicker')
  .prop('label', 'Birth Date')
  .prop('oneTap', true)
  .validation('min').args({value: '1900-01-07T12:25:37.000Z'})

  .component('submit', 'RsButton')
  .prop('children', 'Submit')
  .prop('color', 'blue')
  .prop('appearance', 'primary')
  .event('onClick')
  .commonAction('validate').args({failOnError: true})
  .customAction('onSubmit')
  .json()
Add the form to the page
The component that displays forms is called FormViewer. It is necessary to pass to this component the getForm function to get the JSON
of the form and the view property, this is the set of components for rendering the form. In this example, we will use viewWithCss for a
React Suite library.
You can also pass your custom actions to the actions property to submit the form to the backend. In this example, we will simply call the
alert function.
function App() {
  const simpleForm = useMemo(() => {
    return buildForm({errorType: 'RsErrorMessage'})
      .component('container', 'RsContainer')
      .style({flexDirection: 'row'})
      .children((builder) =>
        builder
          .component('firstName', 'RsInput')
          .prop('placeholder', 'Enter your first name')
          .prop('label', 'First Name')
          .validation('required')

          .component('lastName', 'RsInput')
          .prop('placeholder', 'Enter your last name')
          .prop('label', 'Last Name')
          .validation('required')
      )

      .component('birthDate', 'RsDatePicker')
      .prop('label', 'Birth Date')
      .prop('oneTap', true)
      .validation('min').args({value: '1900-01-07T12:25:37.000Z'})

      .component('submit', 'RsButton')
      .prop('children', 'Submit')
      .prop('color', 'blue')
      .prop('appearance', 'primary')
      .event('onClick')
      .commonAction('validate').args({failOnError: true})
      .customAction('onSubmit')
      .json()
  }, [])

  const getForm = useCallback(() => simpleForm, [simpleForm])

  const actions = useMemo(() => {
    return {
      onSubmit: (e) => {
        // submit the form to the backend
        alert('Form data: ' + JSON.stringify(e.data))
      },
    }
  }, [])

  return <FormViewer
    view={viewWithCss}
    getForm={getForm}
    actions={actions}
  />
}
Modify the contents of the src/App.tsx file as in the example above to finalize the application.
Run the application
Now we can run the application. In the terminal, run:
npm run dev
Open your browser and go to http://localhost:5173 (your port may be different). You should see the form we created.

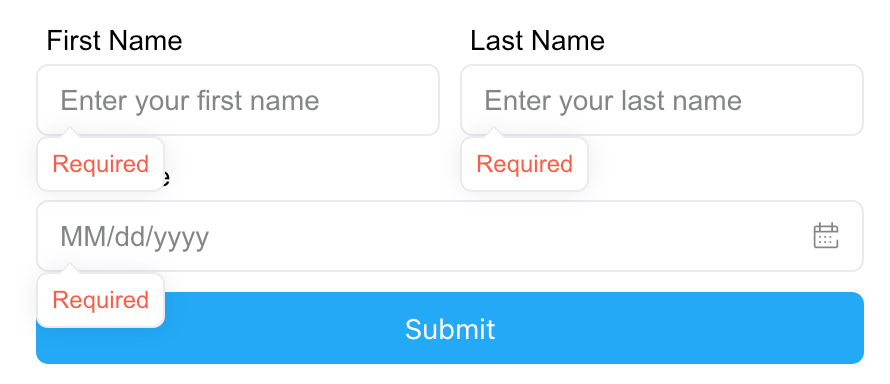
You can click on the Submit button without filling out the form, and you will see an error message.

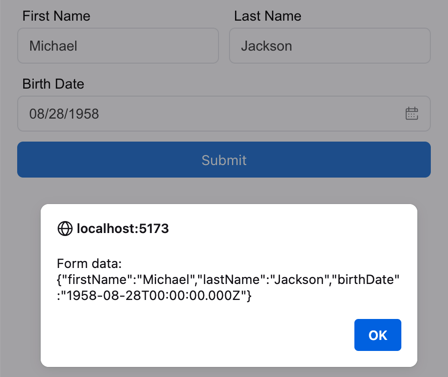
If you fill out the form and click Submit, you will see an alert with the form data.

Creating a form using Designer
Creating forms using JSON may not be as convenient as creating them visually in the Form Designer. Let's run the Form Designer locally. To do this, it is enough to install the package with the designer and connect components to it.
npm install @react-form-builder/designer @react-form-builder/components-rsuite
In the simplest configuration, the FormBuilder component has one mandatory view property, a visual description of the components. We
will use the ready-made React Suite, you can use your own components.
import {builderViewWithCss} from '@react-form-builder/components-rsuite'
import {FormBuilder} from '@react-form-builder/designer'

/**
 * @returns the Designer element.
 */
export const Designer = () => {
  return <FormBuilder view={builderViewWithCss}/>
}
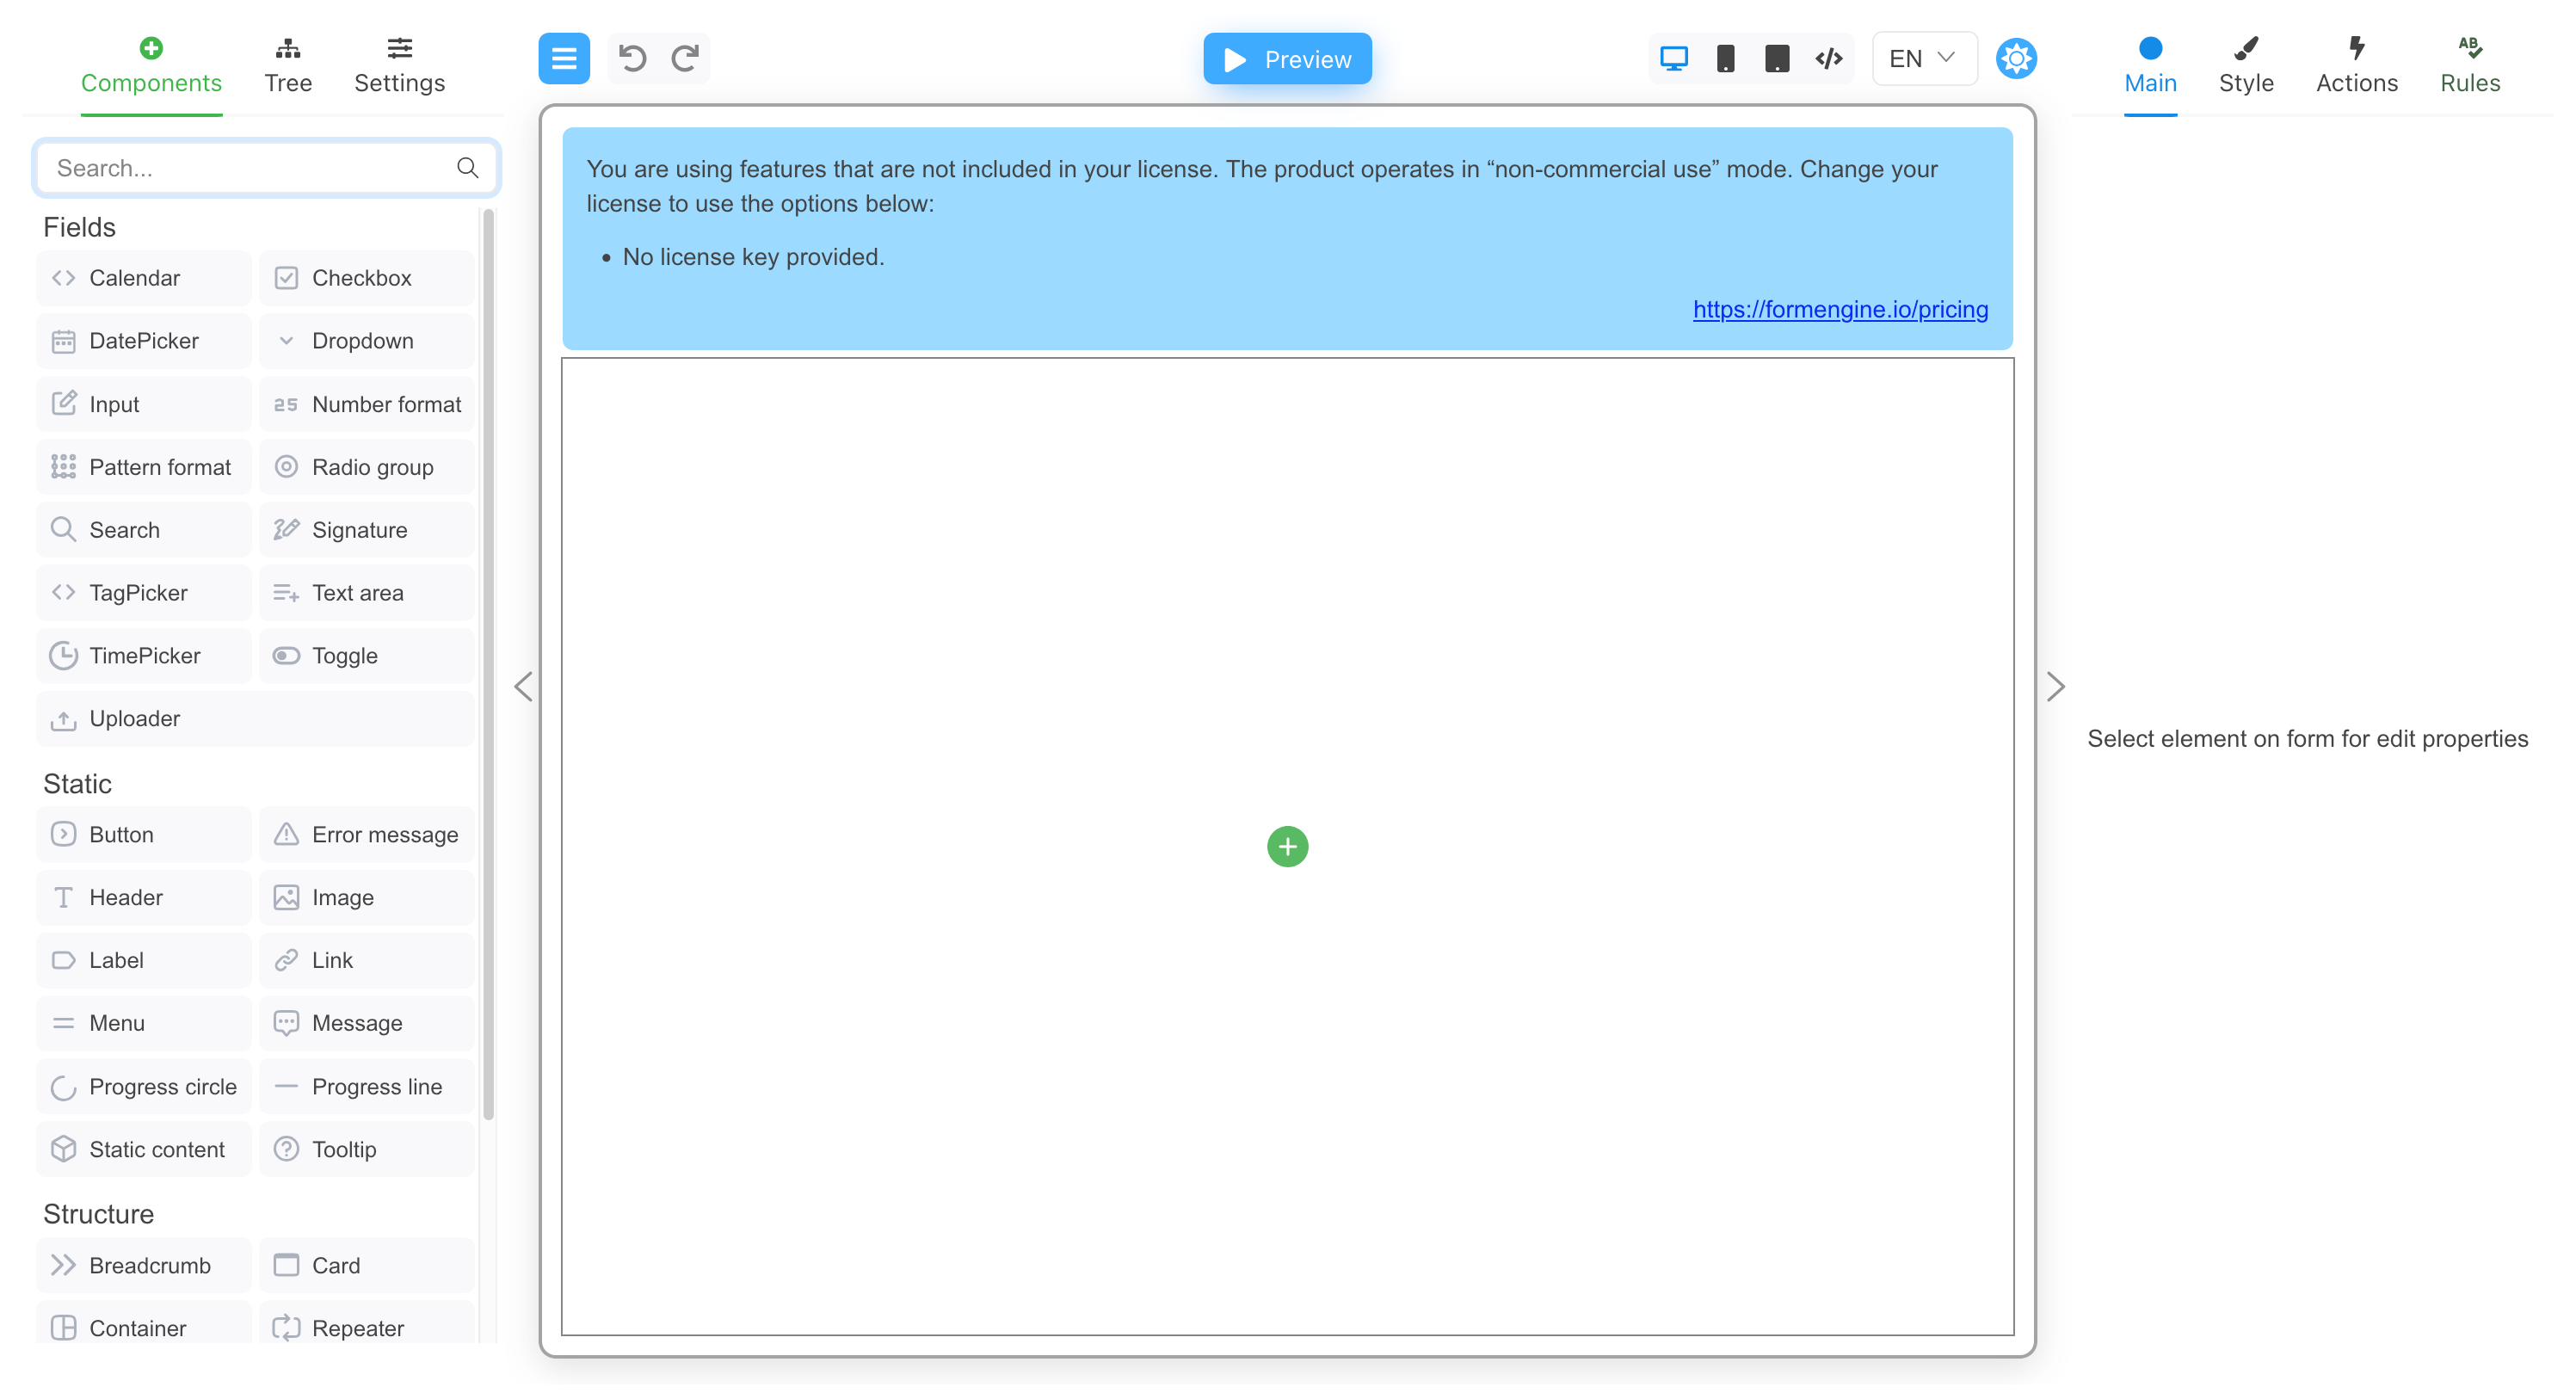
When you launch the Designer, you'll see roughly the following:

Now you can create a form right on the page, customize components, and more.
For a more complete example, see the link.
Further reading
- Component styling using CSS.
- Validation.
- Connecting form storage to Designer.
- Using with Next.js.
- Using with Remix.
- Using without any framework via CDN.